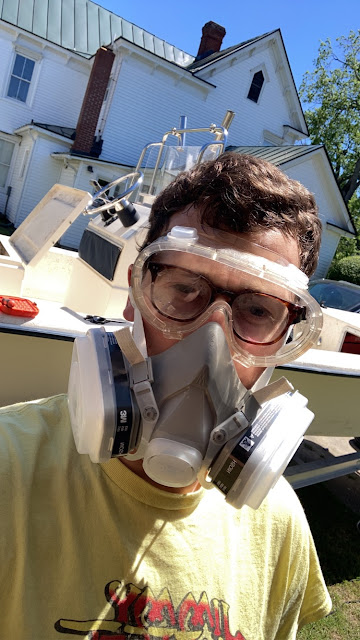
A Little Do-It-Yourself Boat Painting
"Hard hard can it be?" After hours of YouTube videos, I thought I had this whole boat painting thing figured out.
Then, I'd stumbled across a picture on Facebook, of someone who'd painted the same hull as mine with the Alexseal brand topside paint with their "roll" additive, which smooths out the paint after rolling it onto a surface. I was mesmerized with the pictures online, drawn to doom scrolling online forums like Hull Truth, and others. It looked too good to be true. As anyone who's done any kind of painting, on a boat or not, you'll know that normally "rolling" paint leaves texture on the surface, unlike spraying. Even the technique, rolling and tipping, is far from perfect. Otherwise, there's spraying paint with a paint gun, something I didn't feel like buying and something I've never dabbled with. This stuff looked like it had been sprayed. It was smooth and shined. But it'd been rolled. Anyone could do that, right?
I hadn't painted all that much before, some interior walls here and there, but I had done enough to know that preparation's everything. For a boat hull, that means sanding, lots of it, and filling cracks and gouges and low areas with epoxy fairing compound, and thoroughly cleaning the surface of contaminants like oils and other chemicals.
The YouTube channel, Boatworks Today, helped guide me through. You sand. You use "guide coat," a fine powder that shows you where low spots are. You clean. You fair the hull. You sand again. Repeat as needed. Repeat again. Maybe again. You've got to get the right rollers. Tape your rollers to get the lint off. Lots to learn.
Then comes actually getting this stuff on the boat. The technique is tricky, but something anyone can get after a few attempts. You've got to roll the stuff on very thin, and very light with almost no pressure. And you can't go back over where you've painted more than a time or two... otherwise you'll still get some of that "orange-peel" rolling texture you're trying to avoid.
In the end though, it'll be worth it. A reflective shine that makes any boat look new, especially after slapping some new decals on there. You've learned a new skill, and saved up to thousands of dollars in someone else's labor. If you've got an older rig, give it a shot, you might be surprised with yourself and the results.


Comments
Post a Comment